 title card")
The Live Ghost
 |
Available on DVD: [USA]")
 Vol.16 (Universal, 2004) [UK]")
 [GERMANY]")
 [GERMANY]")
 [FRANCE]")
 [NETHERLANDS]")
|
") |
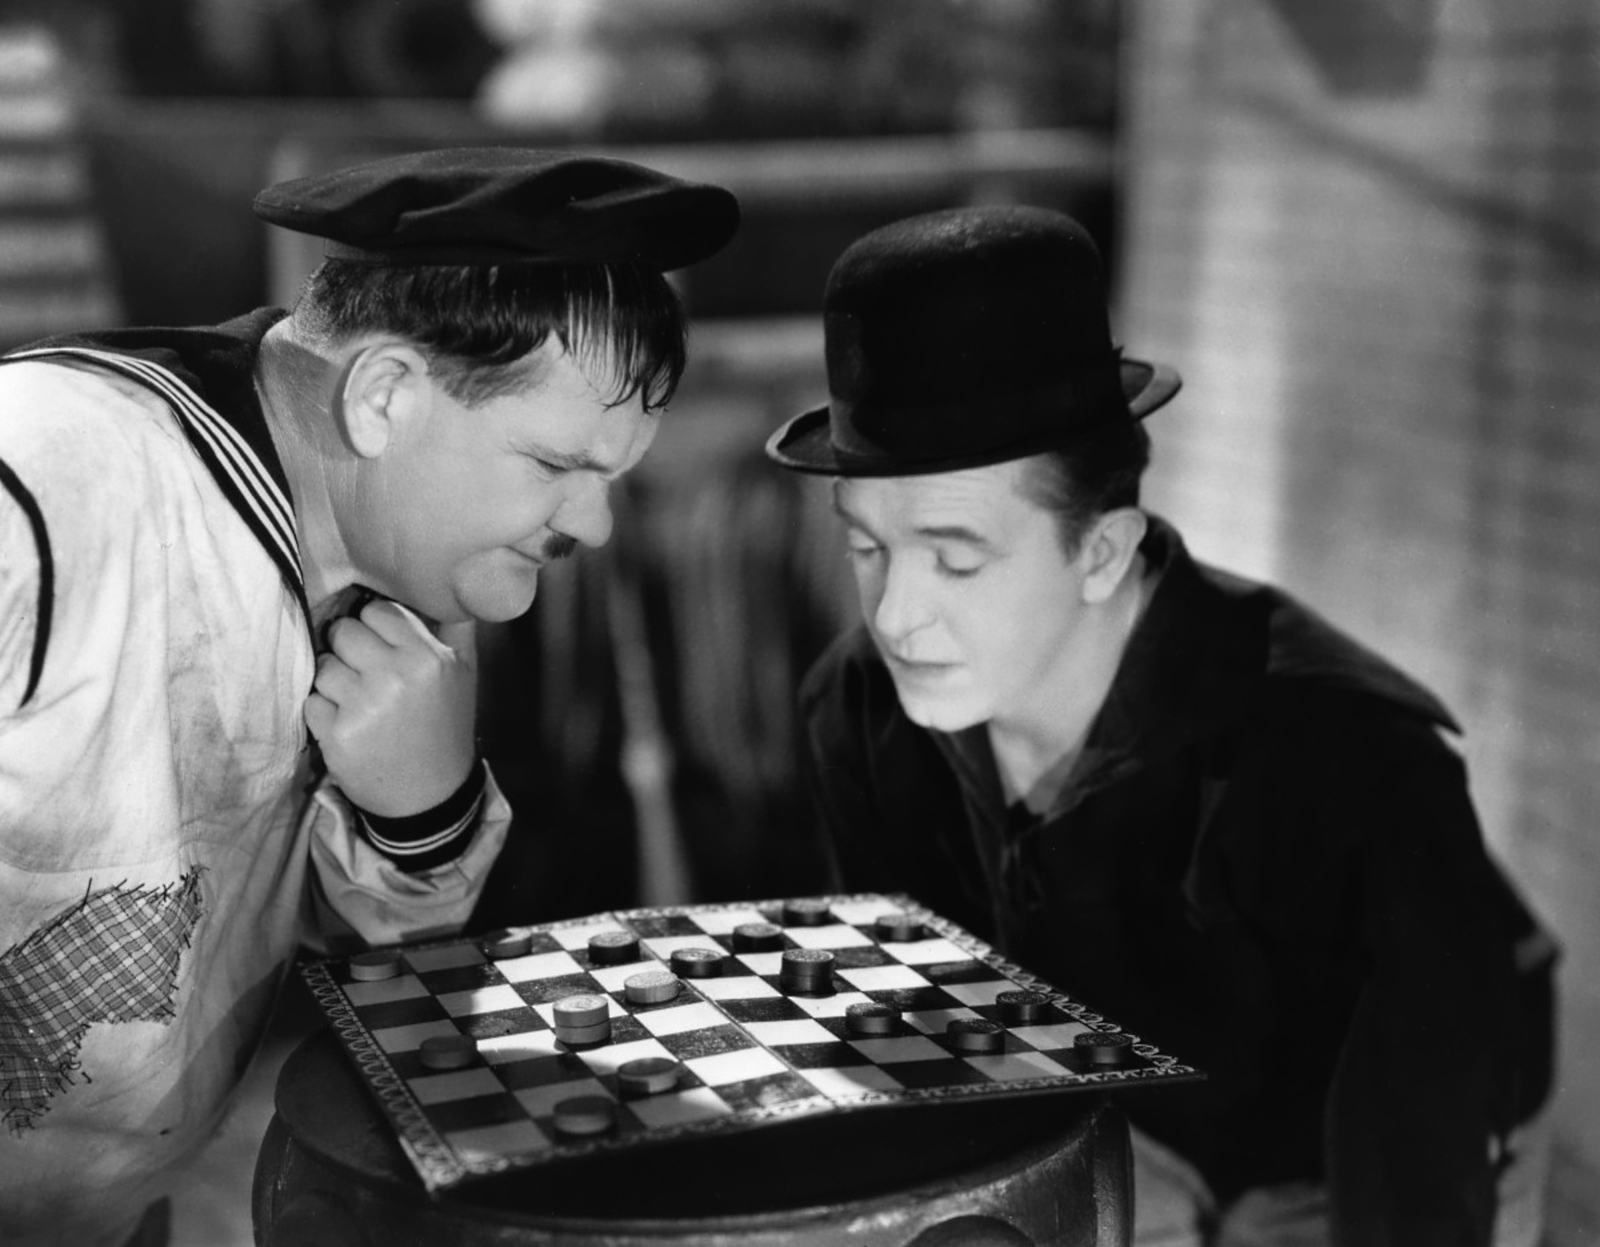
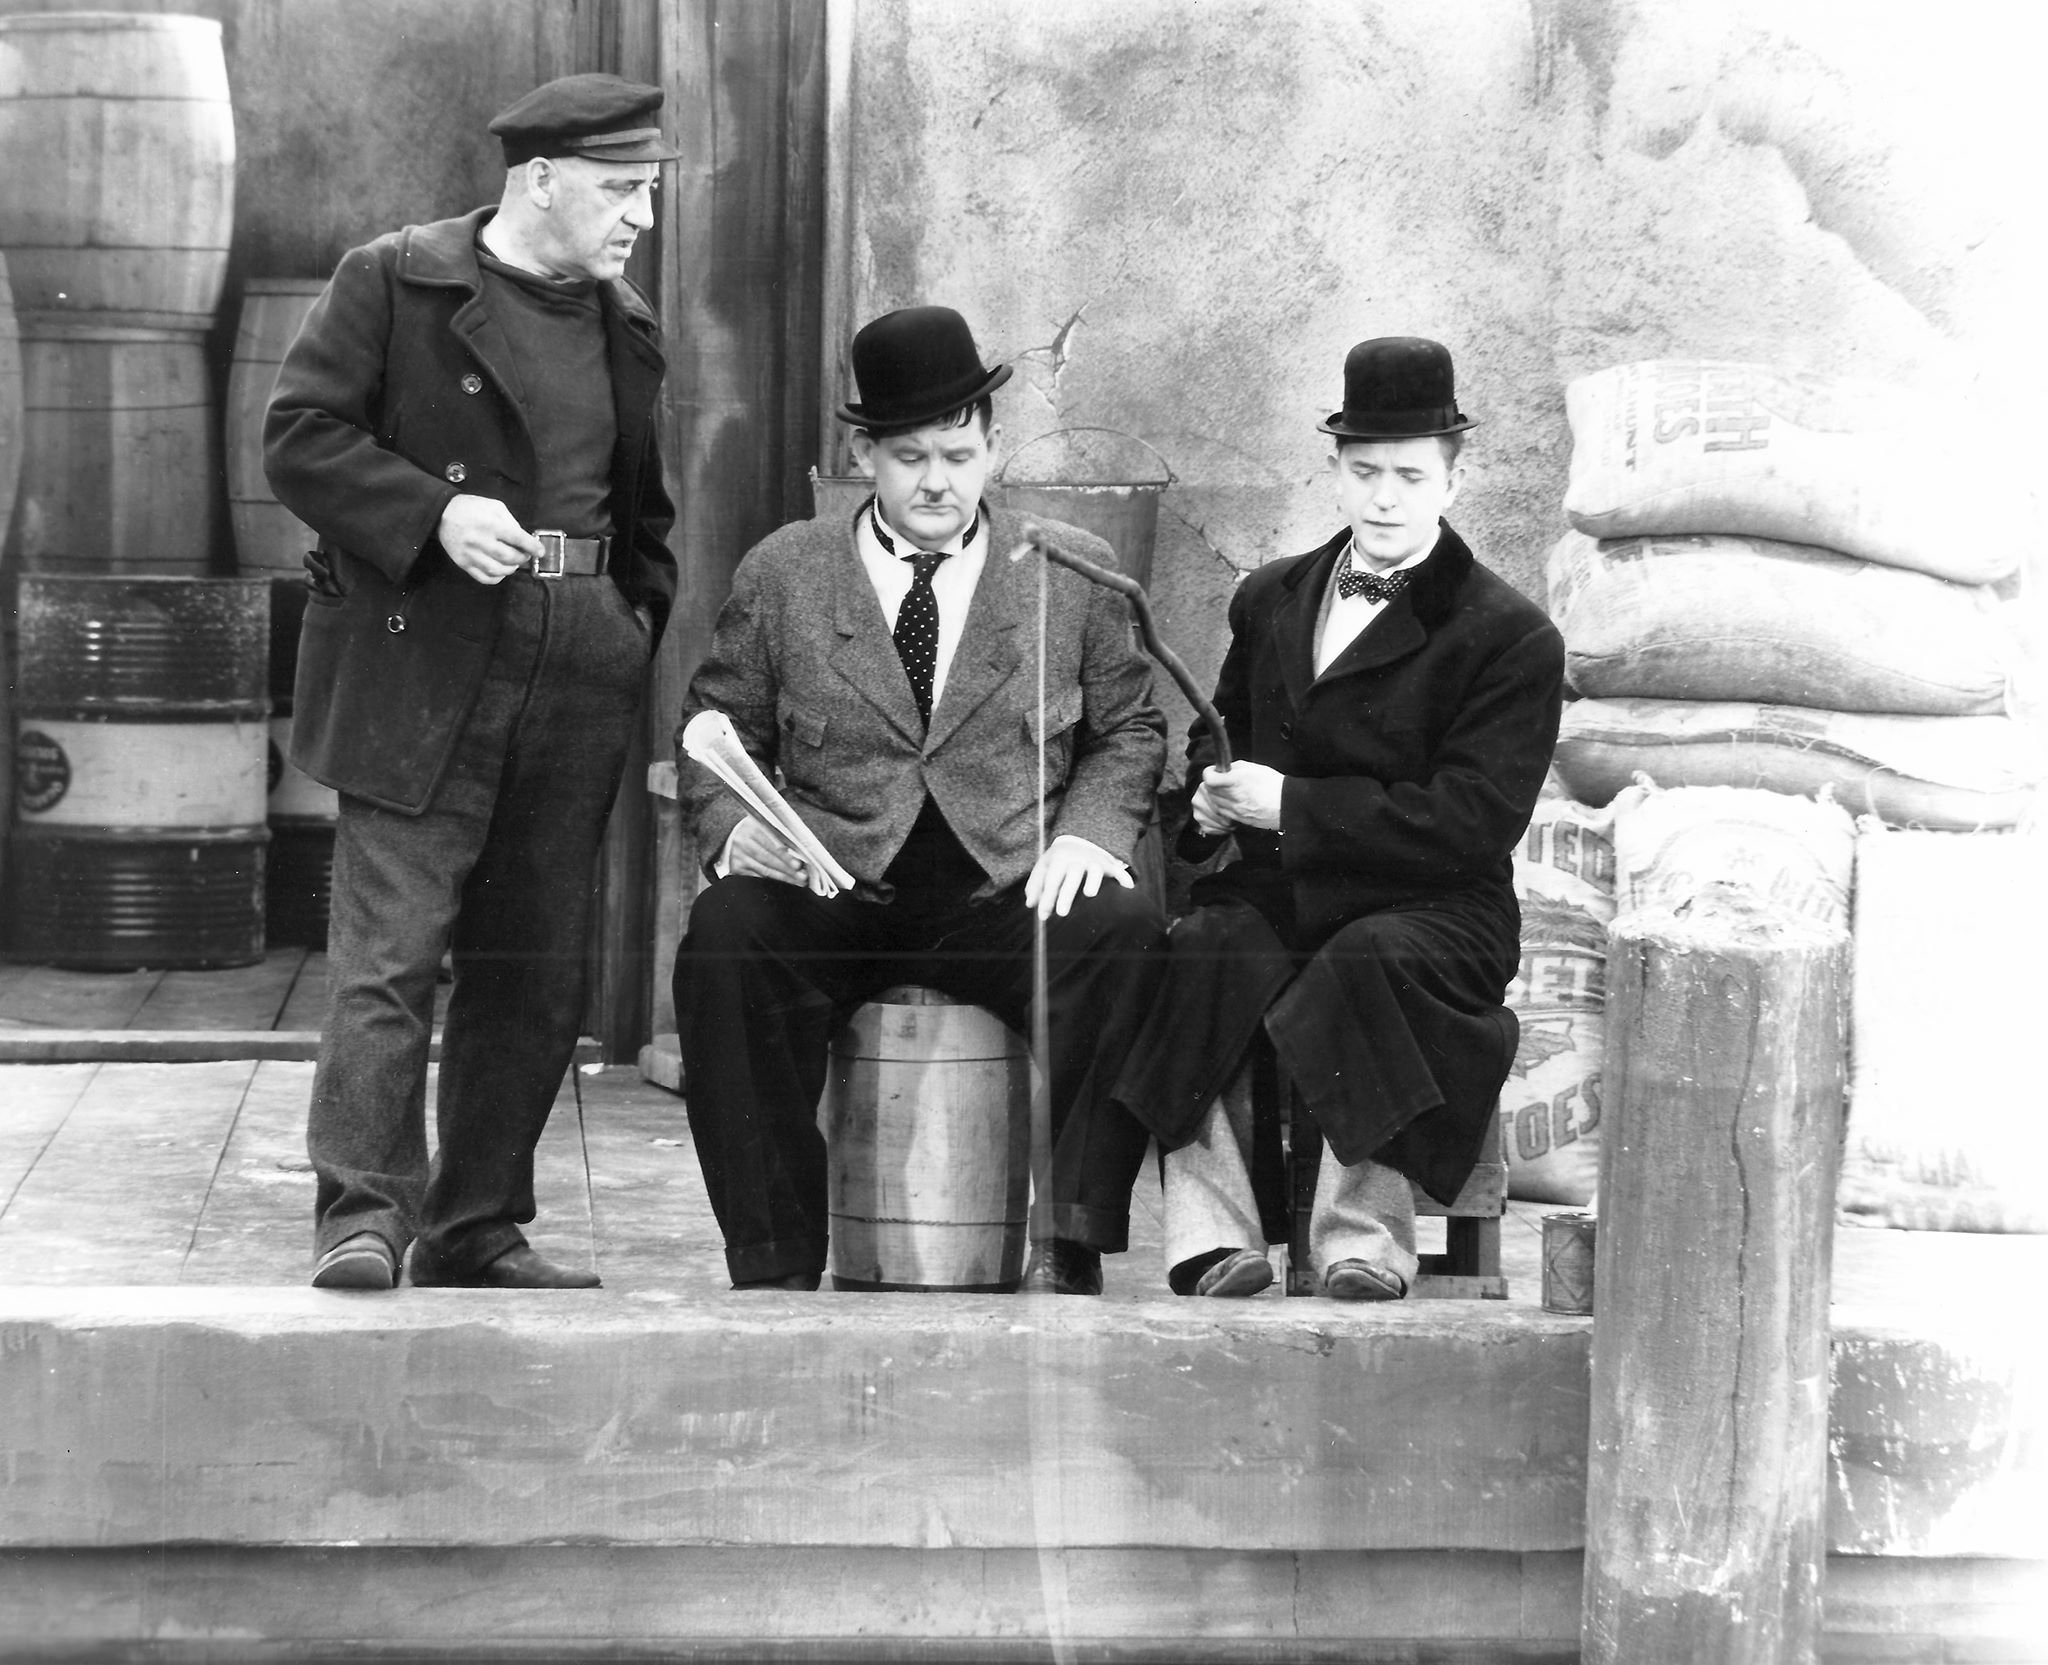
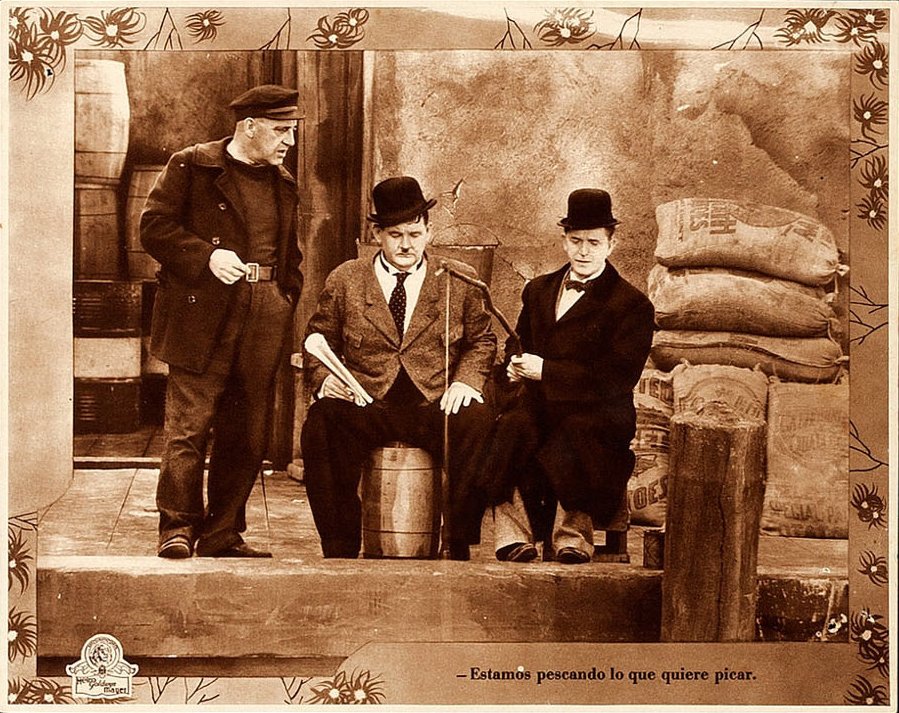
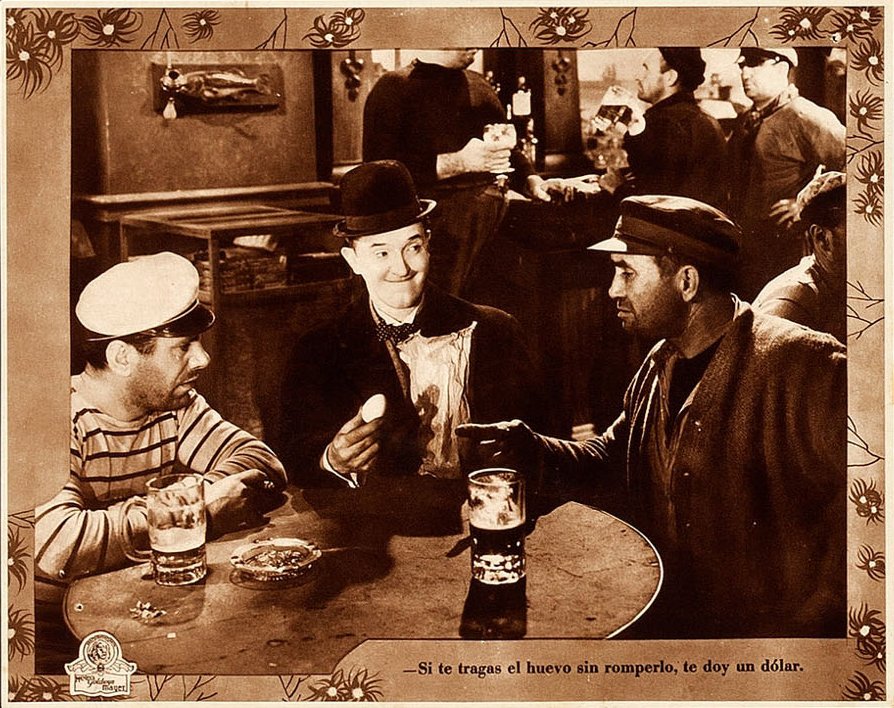
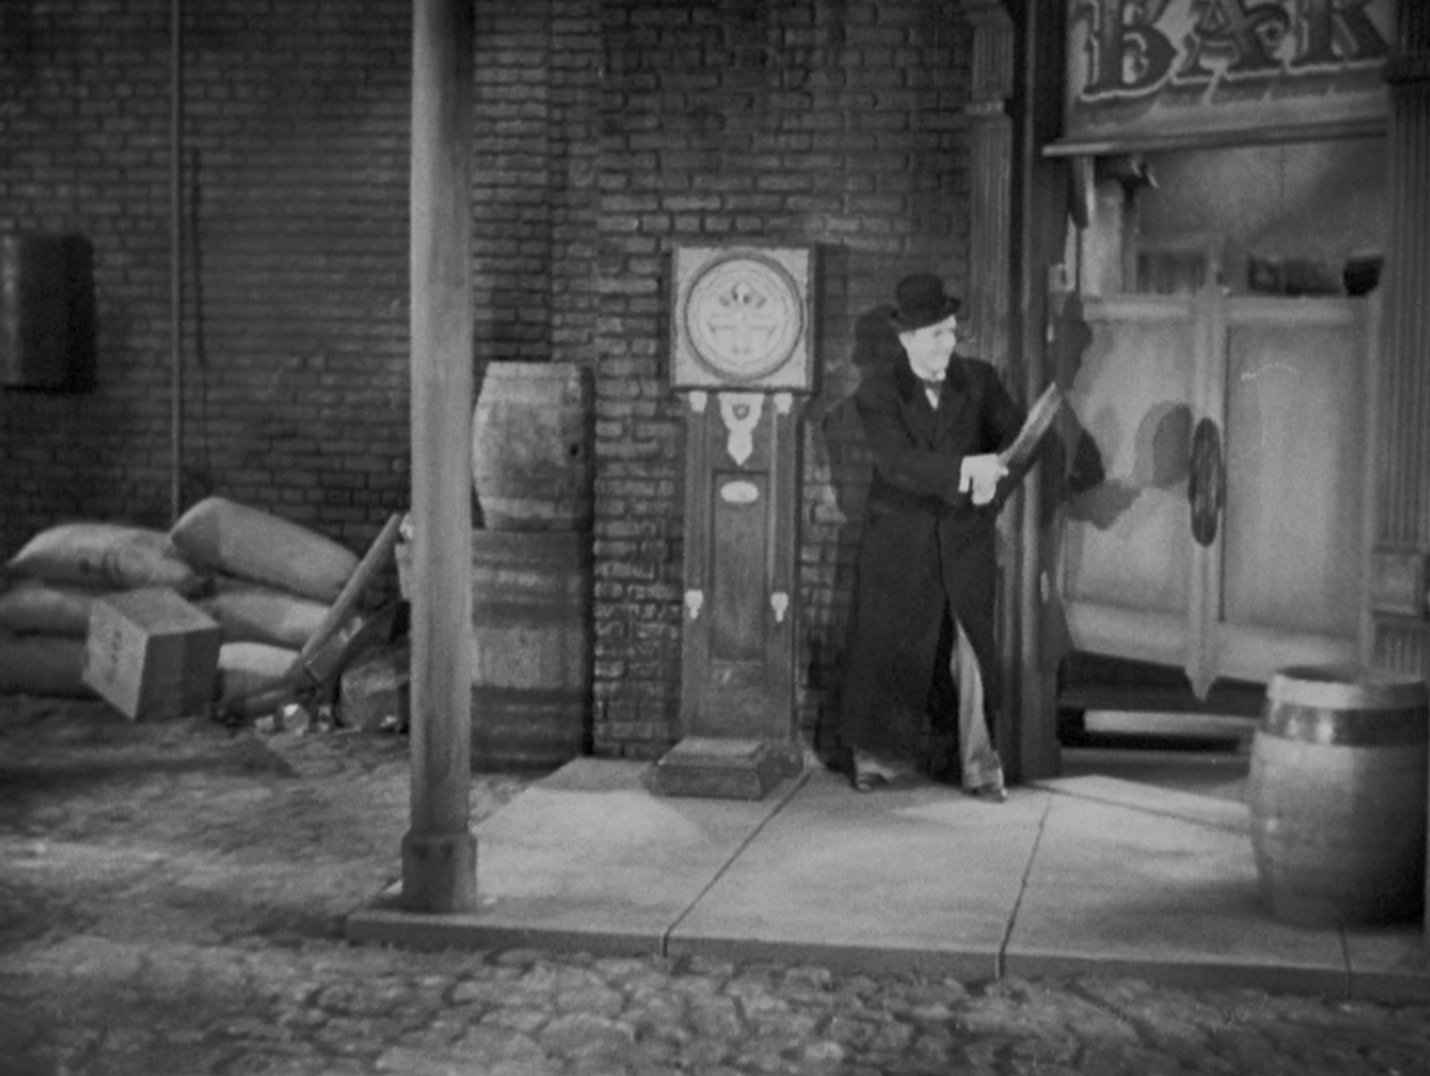
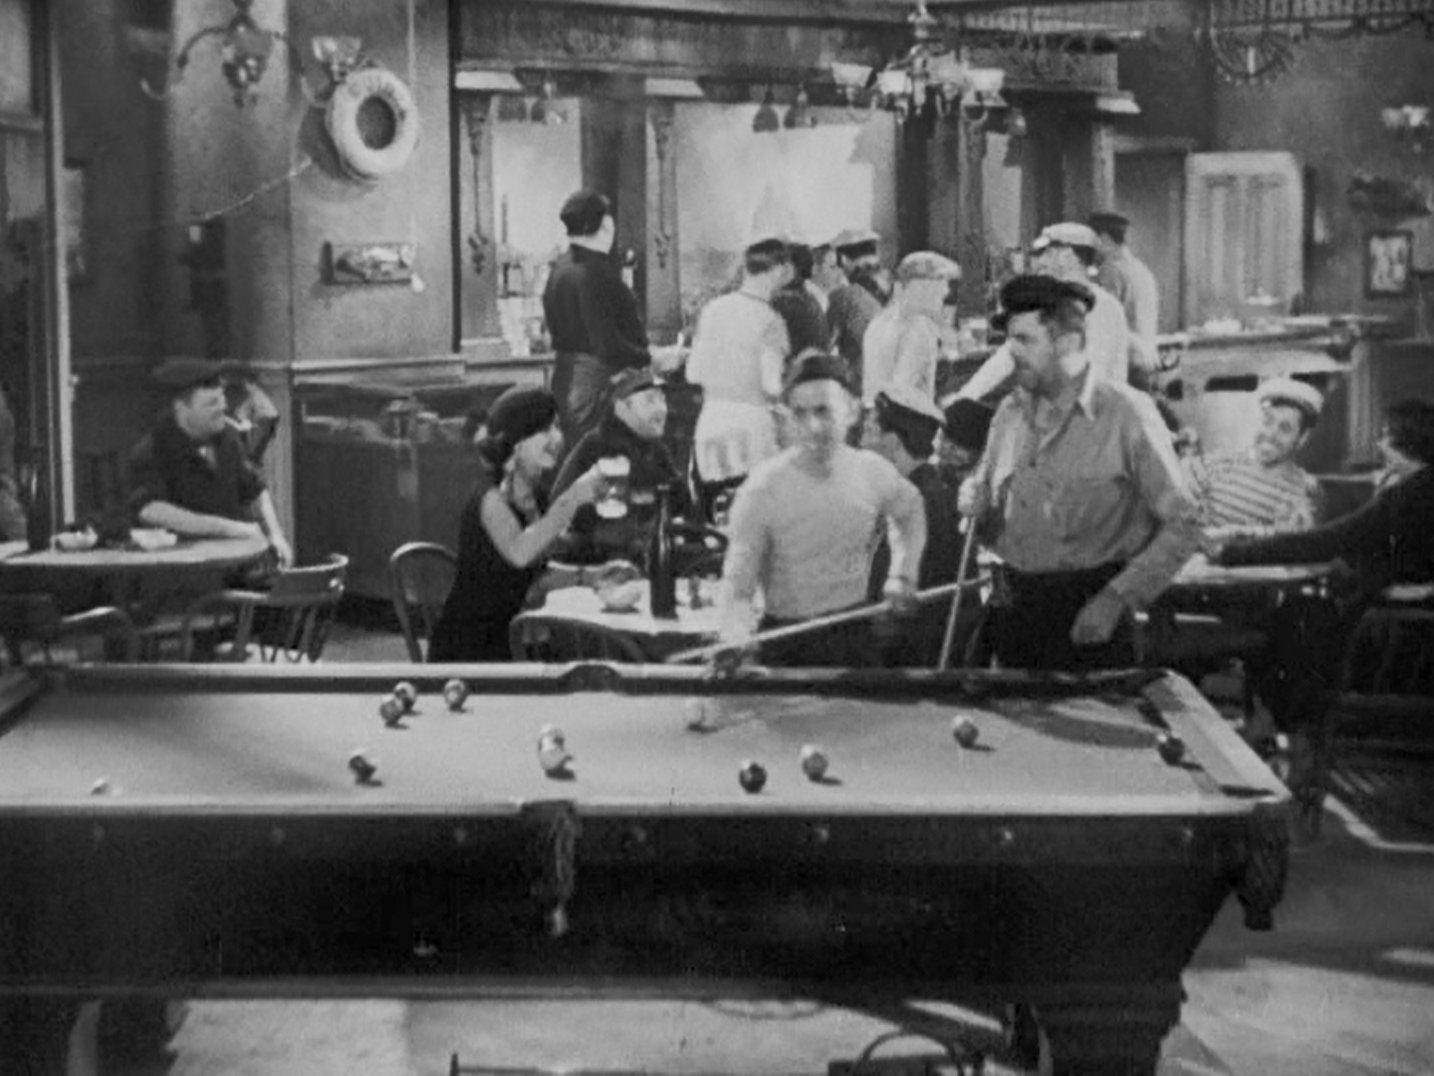
Menacing Walter Long is the desperate captain of a ship which is about to sail, but he first has to recruit enough shipmates to man his depleted boat. The Crow's Nest, a local bar frequented by sailors, the captain seeks the men he needs but gets no offers, especially after one of the men claims his ship is haunted. The captain tries his luck outside where Stan and Ollie are fishing and proposes to pay them $1 for every man they can muster for the trip. They accept the offer and go to work. Outside the bar, Ollie tells Stan his plan: Stan will go inside, and entice somebody to chase him out which will allow Ollie to clunk them with a frying pan he just conveniently found. Stan goes into the bar and sits down at a table and produces a boiled egg from a paper bag before daring an intrigued sailor to put the egg in his mouth without breaking it. Once the gullible man (Leo Willis) accepts the bet Stan punches him on the chin, breaking the egg. He chases Stan outside but is clonked by Ollie. The pattern repeats itself a few more times before Ollie decides to take over from Stan, as he is concerned that the patrons are getting too accustomed to seeing Stan's face. Unfortunately for Ollie his first victim is Charlie Hall - who had just witnessed Stan's egg trick on his drinking partner and the plan backfires. As Hall chases Hardy out of the bar Stan misses his saucepan swipe and ultimately clonks Ollie instead... then Charlie Hall... then Walter Long! When the new crew awaken they, along with Stan and Ollie, find themselves below decks on the allegedly haunted ship. The captain reassures the boys that as long as they remain on the ship no harm will come to them. Ten ports later and the crew are getting restless as they want their revenge for being shanghaiied but Stan and Ollie refuse to leave the boat. |
|
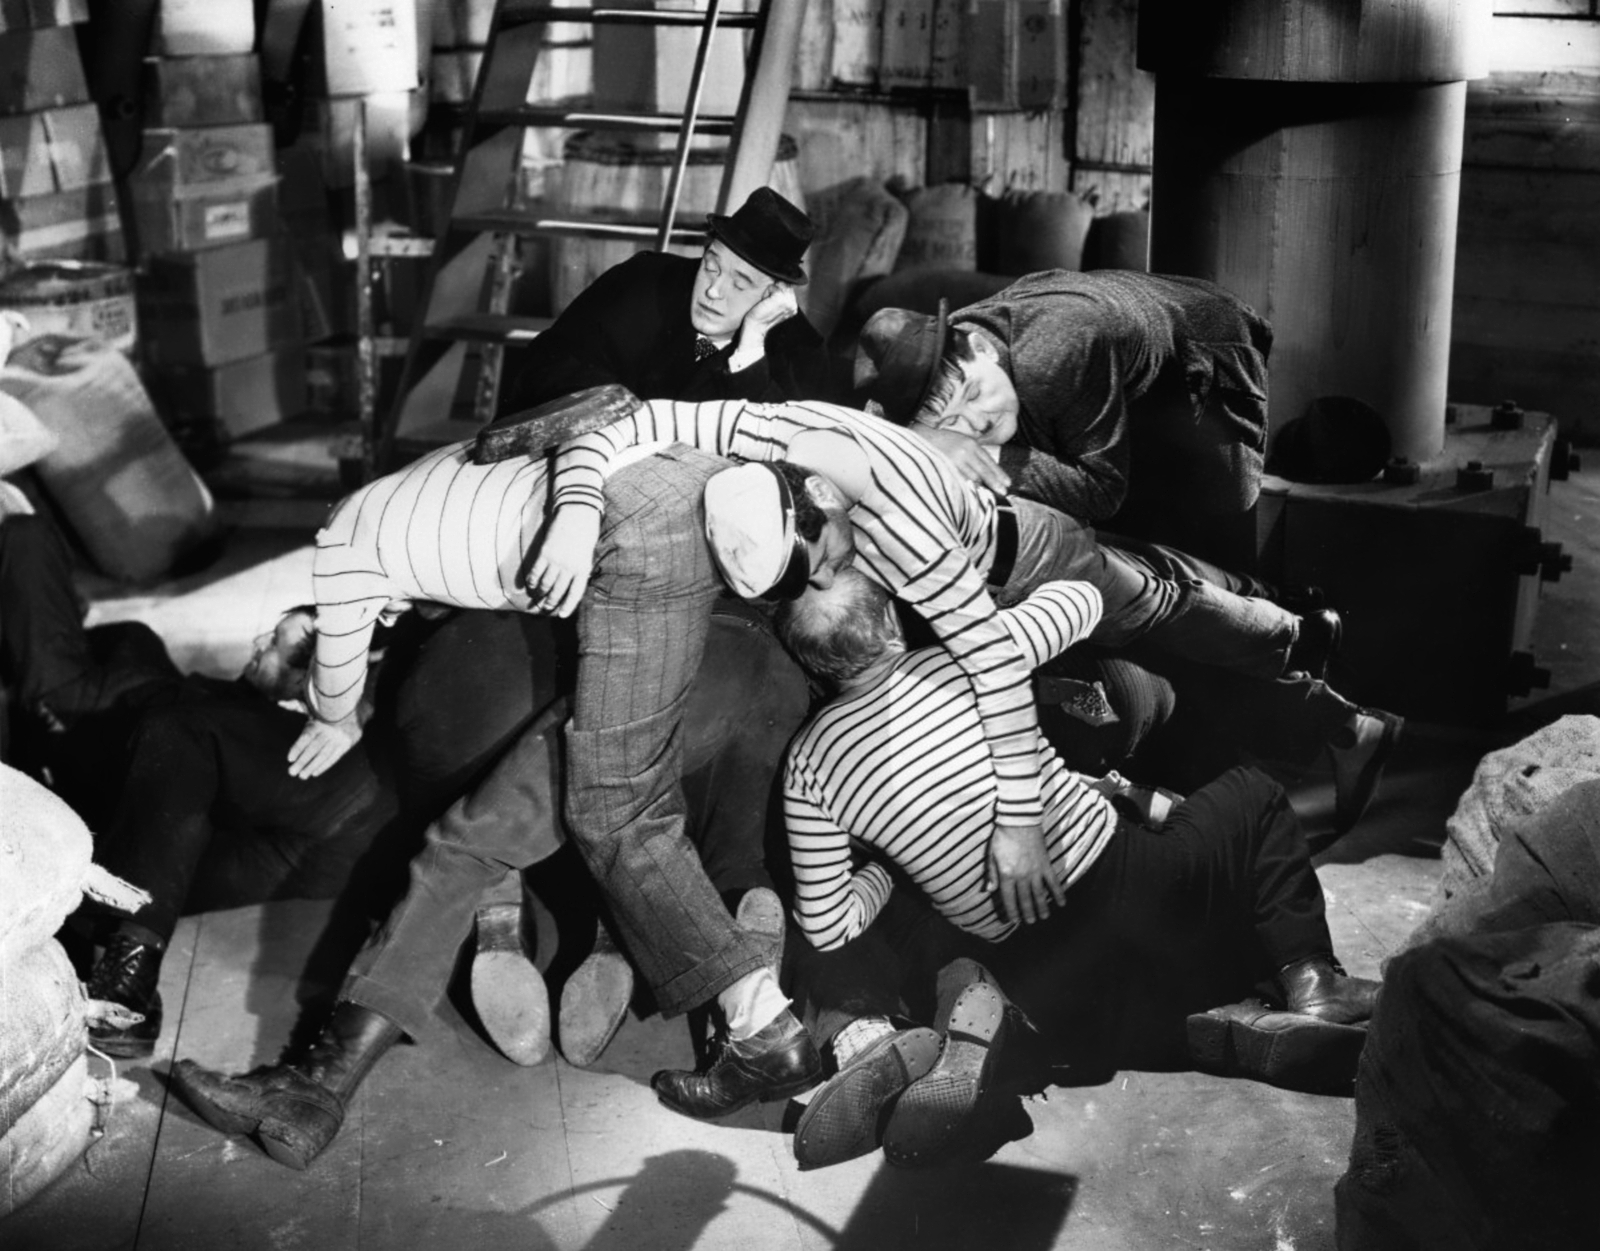
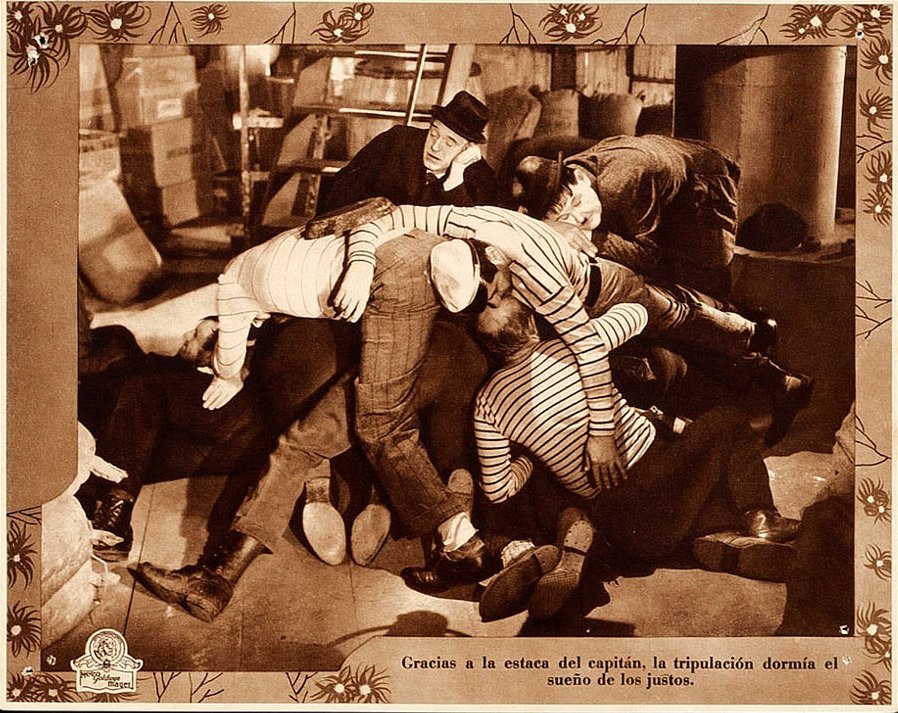
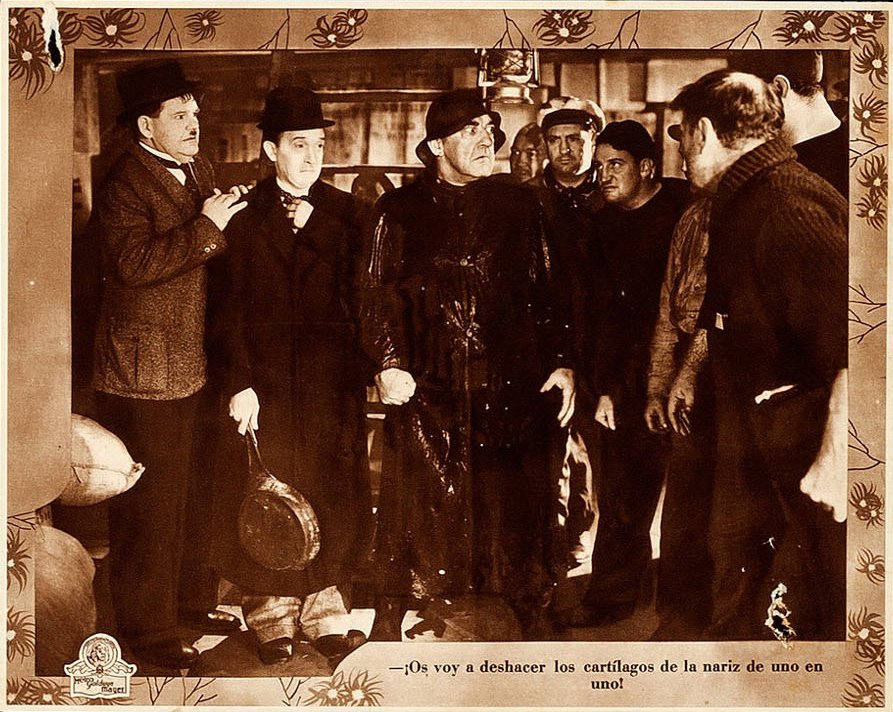
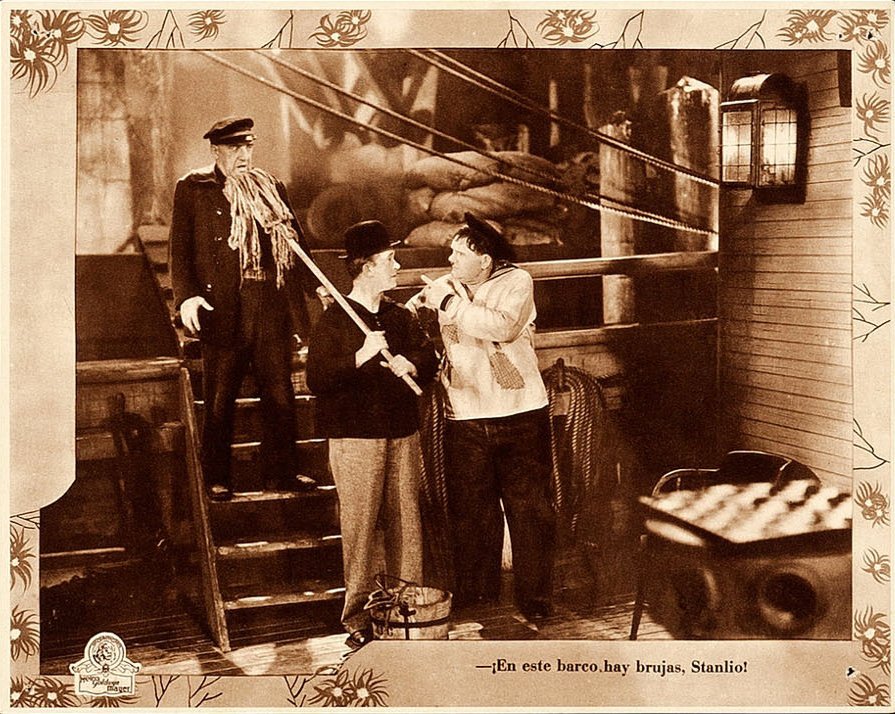
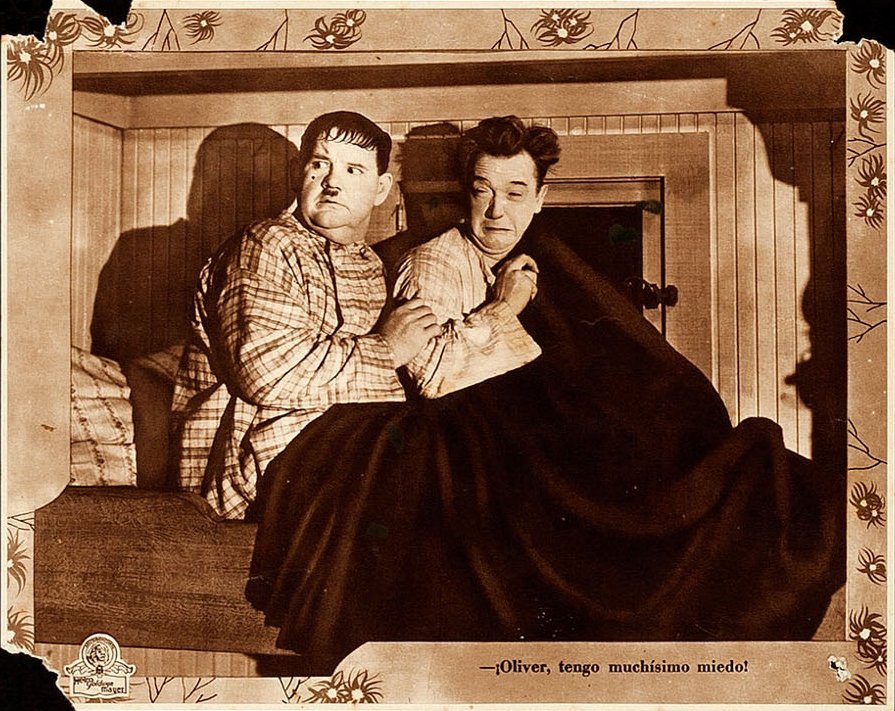
The captain orders the boys to make sure that half-pissed sailor Arthur Housman remains on board. Displeased with this decision, Housman conjures up a cunning plan to escape from under their noses by putting a blanket over some suitcases in his bunk to give the impression he is asleep, then leaves through a side door. When Stan and Ollie return to the cabin Stan discovers a loaded gun and accidentally fires it at the sailor he was meant to be supervising. Convinced that he is dead, Ollie suggests they get rid of the body before the rest of the crew return by throwing his overboard in a weighed-down sack. The drunk, on his way back to the cabin trips and falls into a vat of whitewash (it just happened to be there!) so that when he stands up he resembles a ghost before returning to his bunk. Stan and Ollie return shortly afterwards to dispose of his 'body' and after placing him in a sack they throw the drunk overboard. Stan is just about to get into his own bunk, with Ollie (despite there being a vacant bed underneath) when he sees the "ghost" climbing back on board the ship. Stan jumps into bed and tells Ollie what he has seen, but Ollie warns him not to mention "ghosts" in front of the captain. Unperturbed by Stan's gibberish, Ollie gets out of bed to investigate Stan's fantasy but finds nothing. Meanwhile, the drunk returns to the cabin and climbs into Ollie's bunk and hides under the covers. When Ollie returns he gets back into bed and assumes Stan is the one under the sheets. That is of course until he sees Stan outside the cabin window and is compelled to look under the blanket. Ollie leaps out of bed and runs for his life, catching up with Stan outside, just as the other shipmates come aboard to extract their revenge on Stan and Ollie for their being shanghied. earlier. Of course they quickly do a major u-turn and jump overboard when they bump into the "ghost" As the boys are running around the deck trying to escape the fear of the ghost, the captain arrives, arm in arm with Maisie, who identifies the "ghost" as her ex-husband. She beats him up and chases him off the ship, whilst Stan and Ollie are comforted by the captain's return. In their state of panic, both men confess they have seen a ghost. Naturally, the captain flips and makes good on his promise to rearrange Stan and Ollie's heads before ordering them to bed. |
") |
") |
Favourite bit Stan's double-take after seeing Arthur Housman climb back on board the ship covered in whitewash (which somehow miraculously was still on him despite him being fully submerged in the sea). Stan thinks he has seen a ghost... |
| Trivia • Copyrighted December 11, 1934. • I have to say that the print of the film available on The Essential Collection DVD is in pretty poor shape, yet it is still the best version available at present. • Mae Busch has a seemingly insignificant role as the jilted ex-wife of the drunken sailor Housman, yet surprisingly she is billed above Walter Long in the credits. • Walter Long refers to the bartender (Harry Bernard) as "Joe". • The bar is called The Crow's Nest. • A huge painting of a ship hangs behind the bar. • When Walter Long first speaks to Stan and Ollie he asks them "what y'doing?". Given that Stan is sitting there with a fishing rod dangling into the water, don't you think that's a pretty stupid question? • Ollie tells Walter Long that they clean fish over at the fish market. They had similar jobs in The Flying Deuces, where they worked at a fish market in Des Moines. • As the boys stand outside the bar with Walter Long (before it all kicks off inside), it's nice to see Long's facial expressions - smiling! • Leo Willis accepts the $1 bet from Stan that he can put the egg into his mouth without breaking it. However, the egg is broken (somewhat unceremoniously) and therefore Willis should pay up. He, to my reckoning still owes Stan that dollar. • Walter Long hoists Leo Willis up onto his shoulder and walks off with him. Given that Willis was at least 220lbs, that is quite a show of strength from Long. • When Ollie cracks the egg in Charlie Hall's mouth, it is a real egg. • 1934 wasn't a particularly good year between Walter Long and Laurel & Hardy. In "Going Bye-Bye" he wraps the boys' legs around their own necks, and here he twists their heads 180 degrees around! • The set used for the scenes shot on the deck of the boat were also used in the Our Gang film, Shiver My Timbers. • We see Hubert Diltz chase Stan out of the Crow's Nest and get conked by Ollie (doing a flip in reaction) and getting collected by Walter Long; however, in the two shots immediately before that moment, Walter Long deposits an already conked-out Diltz onto the pile of sailors below deck. It also appears that the rear of Diltz's pants have a vertical tear in them. My opinion • Laurel & Hardy author Christian Blees lists The Live Ghost in his top ten films L&H in the book, Alles, was Sie über: Laurel & Hardy wissen müssen (translated: Everything you need to know about Laurel and Hardy). |
") |
Stan Laurel Stan |
") |
Oliver Hardy Ollie |
") |
Mae Busch Maisie |
") |
Walter Long Captain |
") |
Arthur Housman Drunken sailor |
") |
Charlie Hall Sailor |
") |
Sam Lufkin Sailor |
") |
Leo Willis Stan |
") |
Harry Bernard Bartender |
") |
Baldwin Cooke Sailor |
") |
Jack 'Tiny' Lipson Bearded sailor |
") |
Pete Gordon Sailor/Chinese cook |
") |
Art Rowlands Sailor |
") |
Hubert Diltz Sailor |
") |
Dick Gilbert Sailor |
") |
John Power Sailor |
") |
Charles Sullivan Sailor |
") |
Bobby Callahan Sailor |
") |
Ham Kinsey Asleep outside the Crow's Nest/ Stunt |
") |
Tony Campanaro Outside the Crow's Nest |
") |
Cy Slocum Sailor/ Stunt (when Ollie falls out of top bunk) |
") |
Russell Custer Sailor (He is also seen exiting pub in opening scene) |
") |
Mary Sage Crow's Nest patron |
") |
Margo Sage Crow's Nest patron |
| CREDITS (click image to enlarge) |
 |
| POSTER (click any image to enlarge) 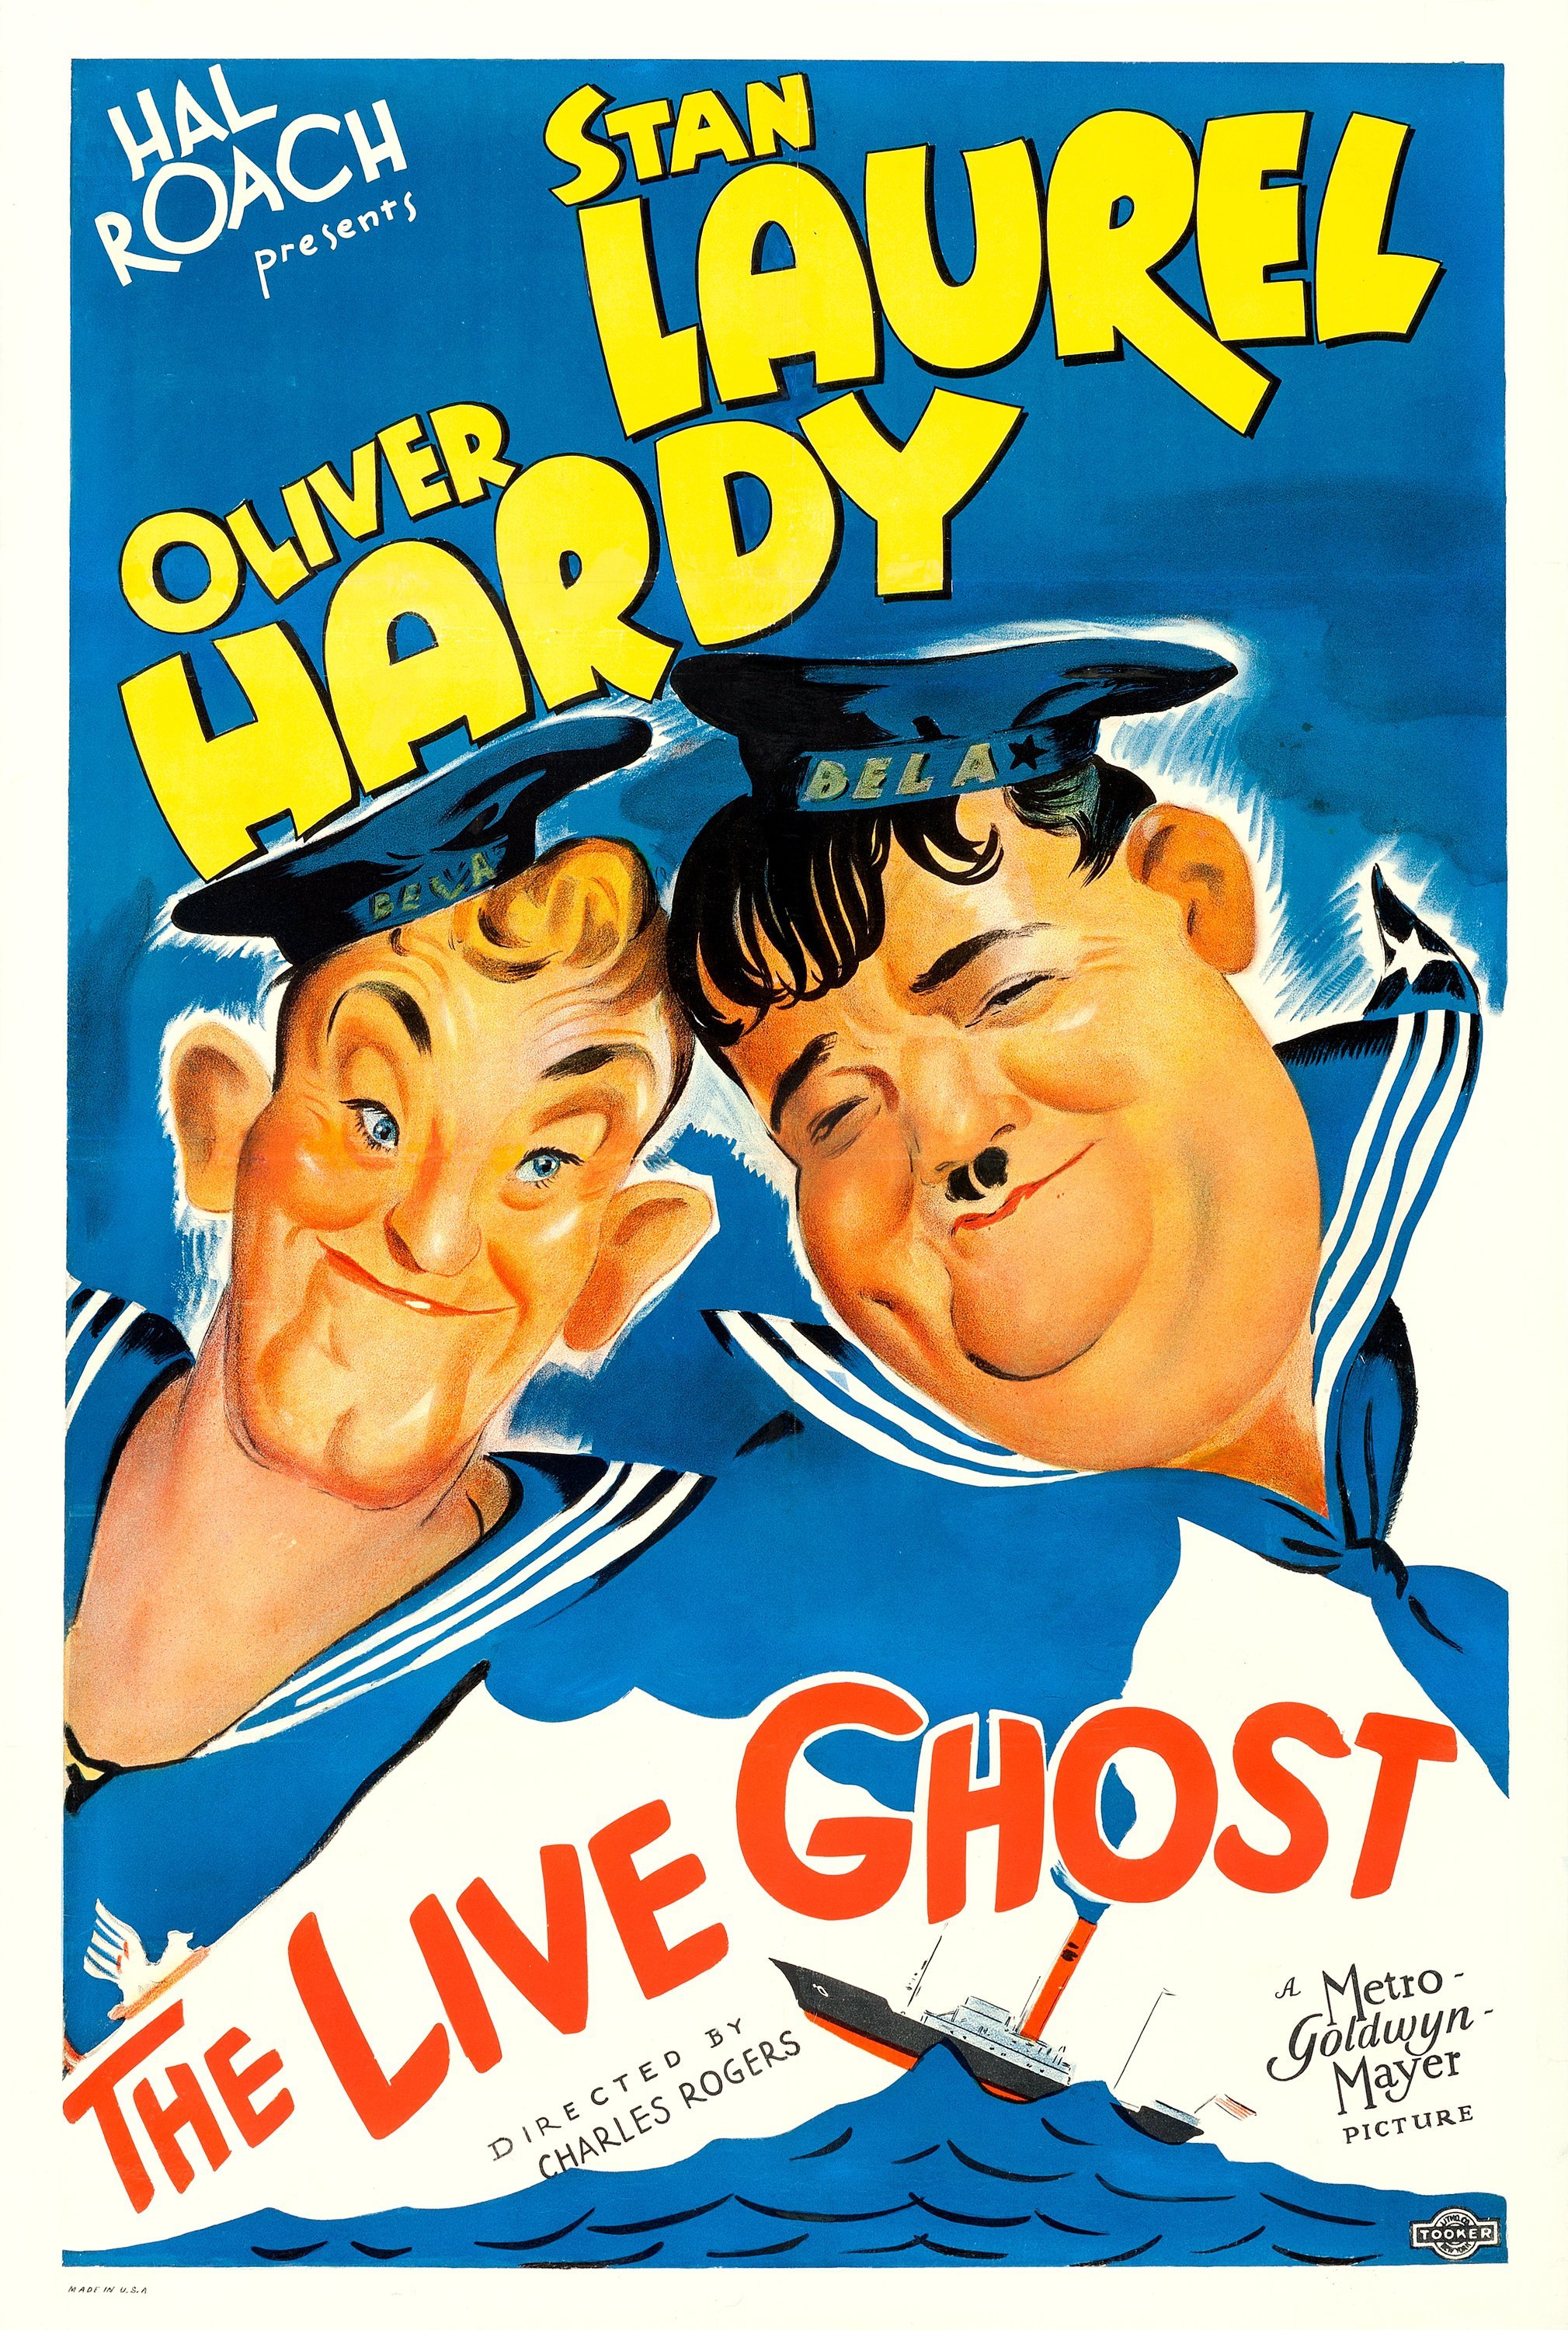
|
| STILLS (click any image to enlarge) 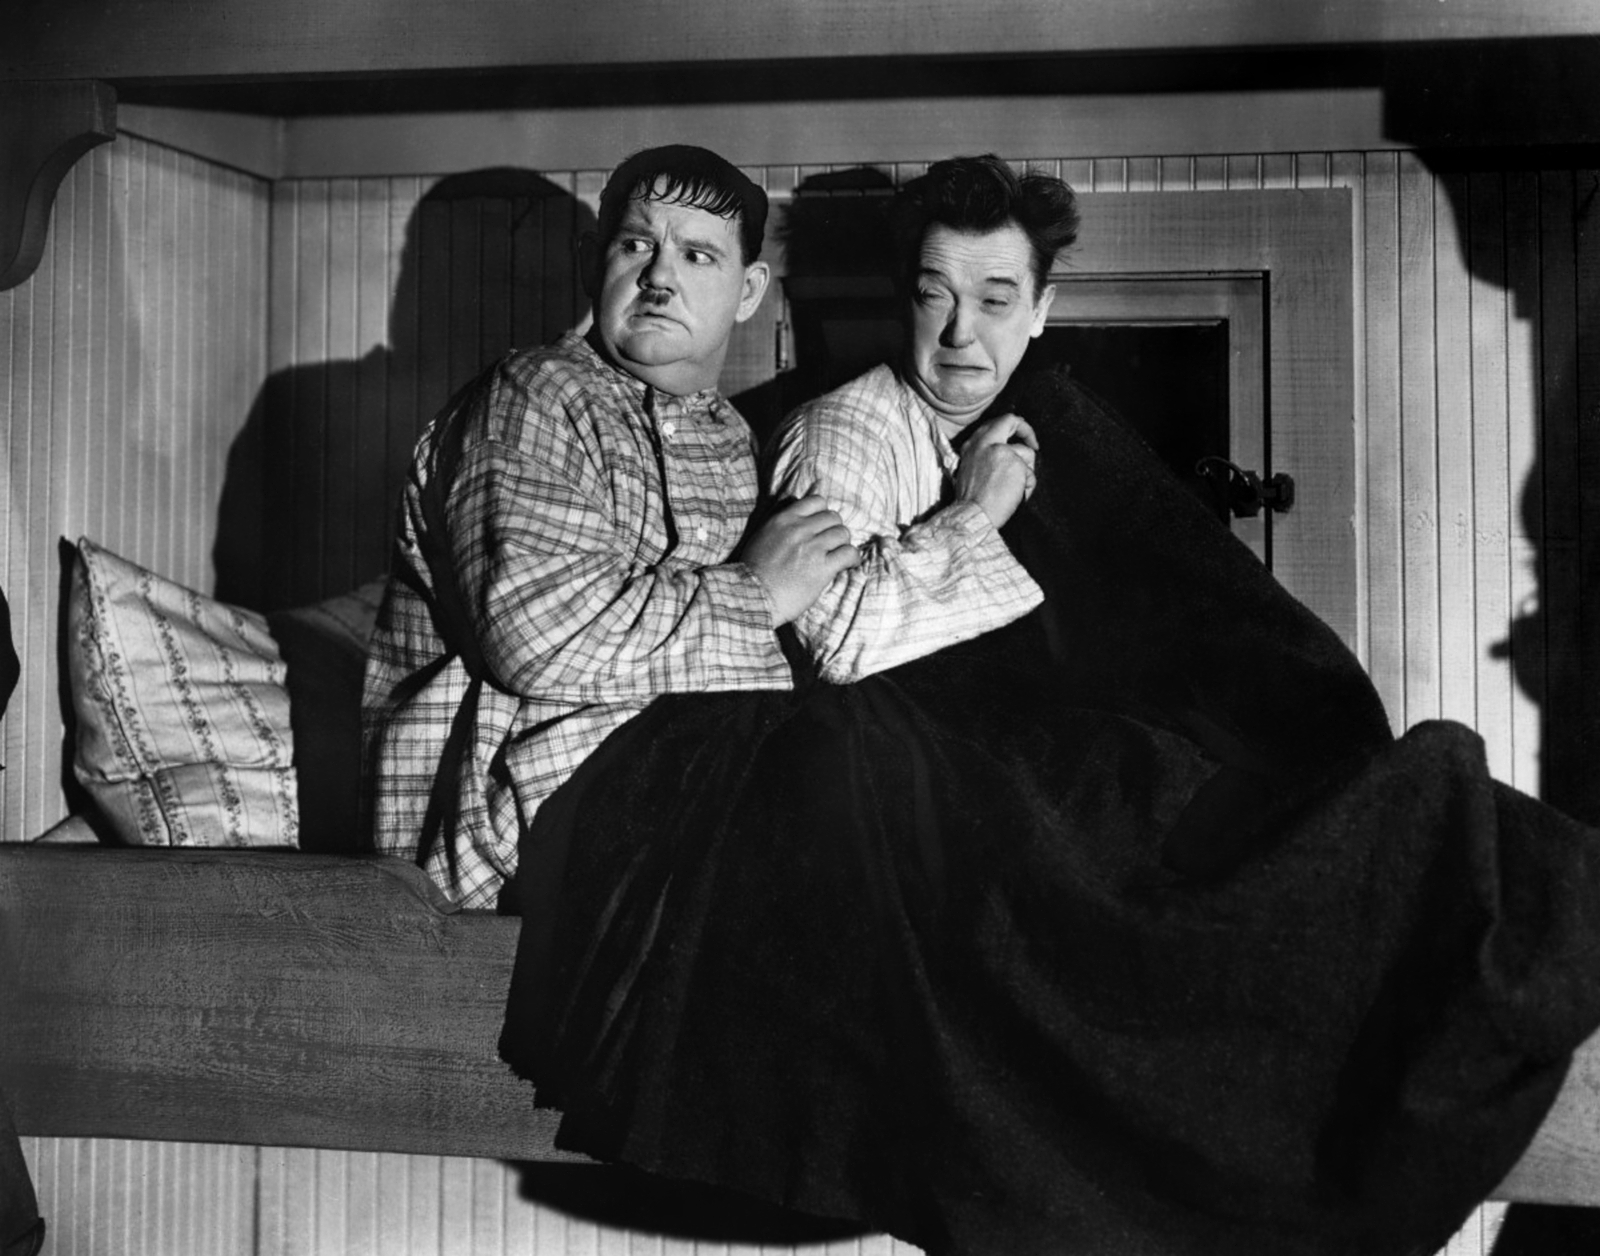
|
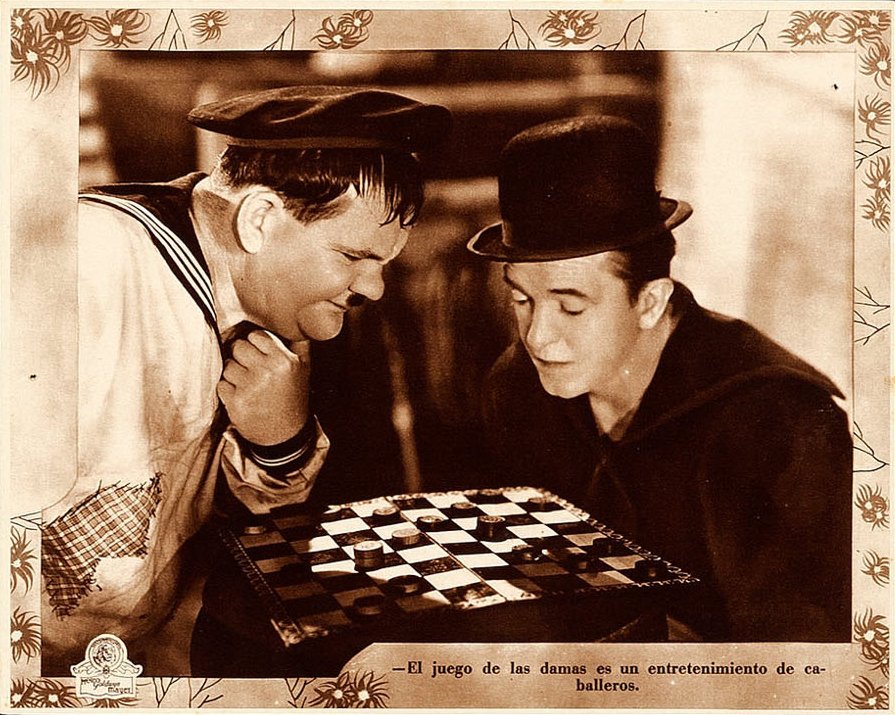
| SPANISH LOBBY CARDS (click any image to enlarge) 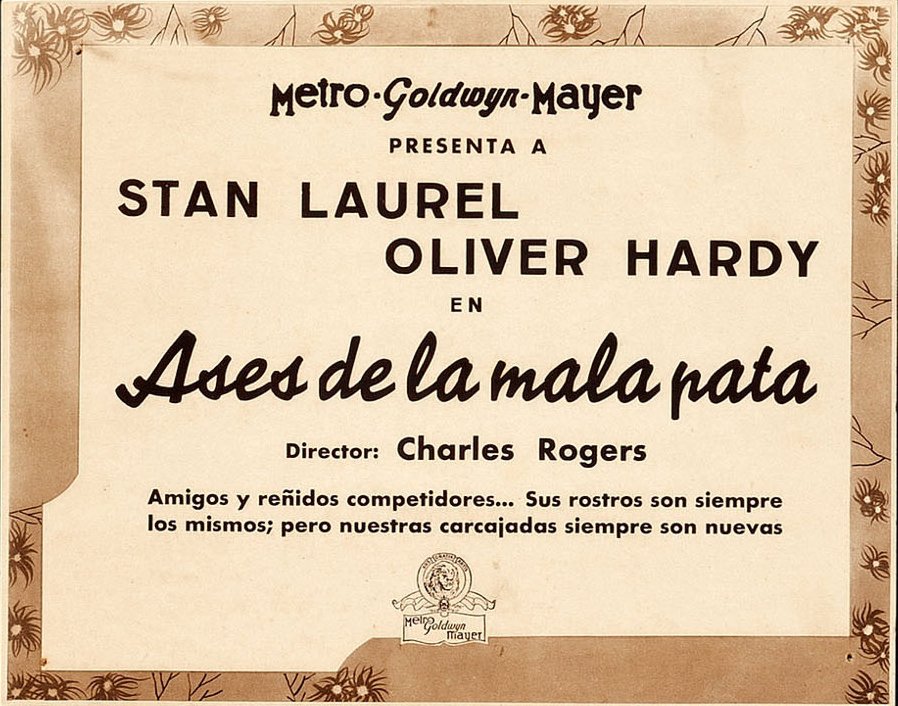
|
| ON-SET SHOTS (click any image to enlarge) 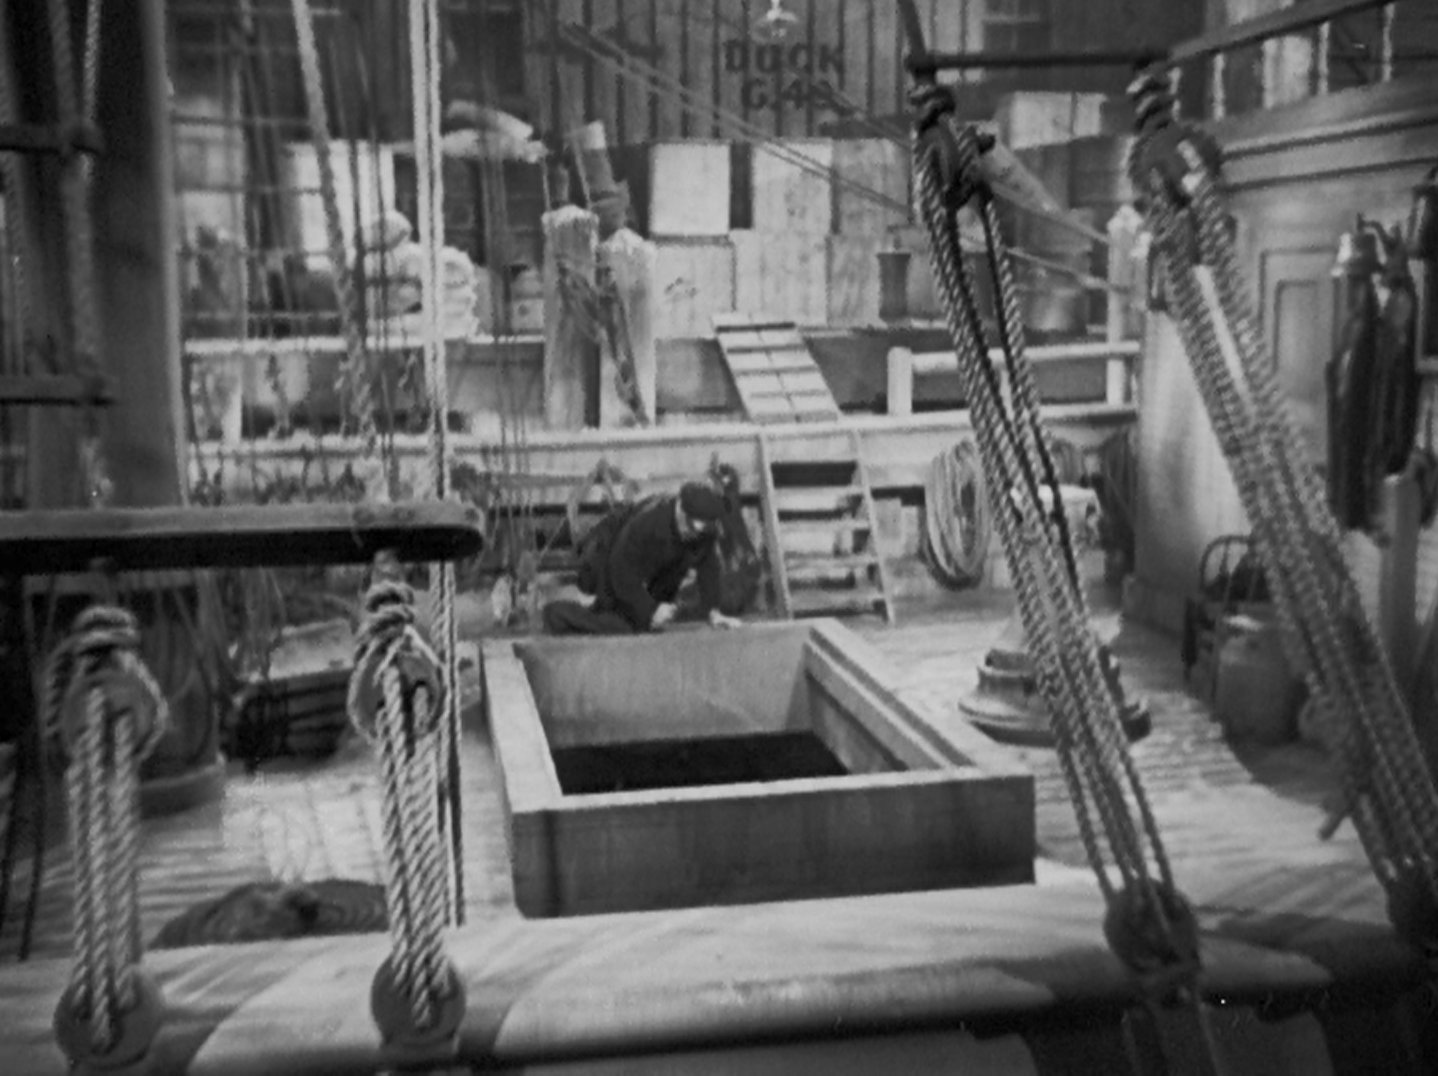
|
| Acknowledgements: Laurel And Hardy: The Magic Behind The Movies by Randy Skretvedt (book) Jesse Brisson (identification of John Power, Bobby Callahan, Sam Lufkin, Charles Sullivan, Cy Slocum, Russell Custer) Jorge Finkielman (8 Spanish lobby cards) Matthew Lydick (colorized print of the film - not used) Jerry Murbach (3 stills) Bill Duelly (1 still) Sage Andersen (help with identifying the Sage sisters) This page was last updated on: 08 December 2024 |