 title card")
The Tin Man
 |
Available on DVD: [USA]")
|
") |
Written by Mick Roche... Our girls are driving in the night, looking for an address, that Patsy 'wrote down in the dark', using Thelma's pen that 'hasn't been inked in a month'! The car radio announces that," 'Blackie Burke', a very dangerous criminal, has escaped from prison, and there is a reward of $10,000 for his capture alive." The girls are unsettled and would be MORE so, if they turned around, and saw 'Blackie' in their back seat, hands raised to strangle our ladies! Fortunately, Patsy drives over a rock and the impact knocks out 'Blackie' Thelma tells off Patsy, and the unknowing women drive on. They spot a light on in a nearby house, and Thelma suggests they call and ask to use the phone. As it's raining, Patsy stretches her arm to the back seat, to reach for the umbrella. Her hand hovers unknowingly above 'Blackies' unconscious face, before finally getting to grips with the umbrella. Thelma rings the bell, and during a long tuneful ring, the door slowly opens itself! A cuckoo clock answers Thelma's "Yoo-hoo!" and Patsy suggests it's an echo. "I'll 'echo' you in a minute," Thelma answers threateningly (she appears to be in an unexplained bad mood throughout the film) "C'mon and help me find a phone, this place gives me the creeps!" Little do they know, that they are being watched from eyes behind a picture, and 'Blackie' has woken. |
|
The 'eyes' belong to your typically dramatic 'mad professor' who insanely laughs a lot, and is pleased that not only one but TWO women have walked into his clutches, and will "Make them, and all their sex pay for ignoring, sniping and insulting me! Revenge is sweet!" Meanwhile, Thelma tries to pick up a phone, but it disappears into the wall, making her shriek rather bizarrely. Patsy's 'chair' throws her to the ground. They decide to leave, but the door closes and bolts itself, as do the windows! Good joke with a window that they open, to find another behind, and yet another, and another, until they see the scary painting that made it's debut in "LAUREL AND HARDY MURDER CASE". Then, 'Blackie' climbs in. The professor, is preparing his 'tin man' to seduce, caveman-like, Thelma, so he can have revenge!? A not-very-scary tin (looks more like cardboard) man, walks towards the girls and the professor uses his own voice through a microphone to introduce himself, as "Robot". The girls fearfully (?) introduce theirselves and when hands shake, sparks fly! The dinner gong, 'gongs' itself, and 'Blackie' hides under the table, while "Robot" escorts the girls to the table. "SITTDOWN!" he shouts, which makes the girls scream. Which it would. "Robot" pulls the chair from under Patsy, and she falls to the floor. She does it to him, and he sits in mid-air! He serves oil, as a drink, which nearly makes Patsy sick, so she pours it under the table, but really goes down 'Blackie's' neck! Then follows similar slapstick, with cutlery, kicks, falls etc. Patsy is on the receiving end of a jug of slowly poured water from "Robot". This is the last straw for her, and she throws water over him, which causes explosions, and "Robot" goes haywire. 'Blackie' receives a few more knocks to the head, "Robot" attacks the professor, and crashes out of the house in chasing him. The girls escape to their car, and discover 'Blackie' is in the back seat again. They scream, but he tells them that he is not going to hurt them,he just asks that they deliver him back to his 'nice safe cell!' |
| Trivia • Copyrighted March 5, 1935. • The 15th film in the series. |
") |
Thelma Todd Thelma |
") |
Patsy Kelly Patsy |
") |
Matthew Betz Blackie Burke |
") |
Clarence Wilson Mad scientist |
") |
Cy Slocum The Tin Man |
") |
Betty Danko Stand-in for Patsy |
Billy Bletcher Voice of The Tin Man |
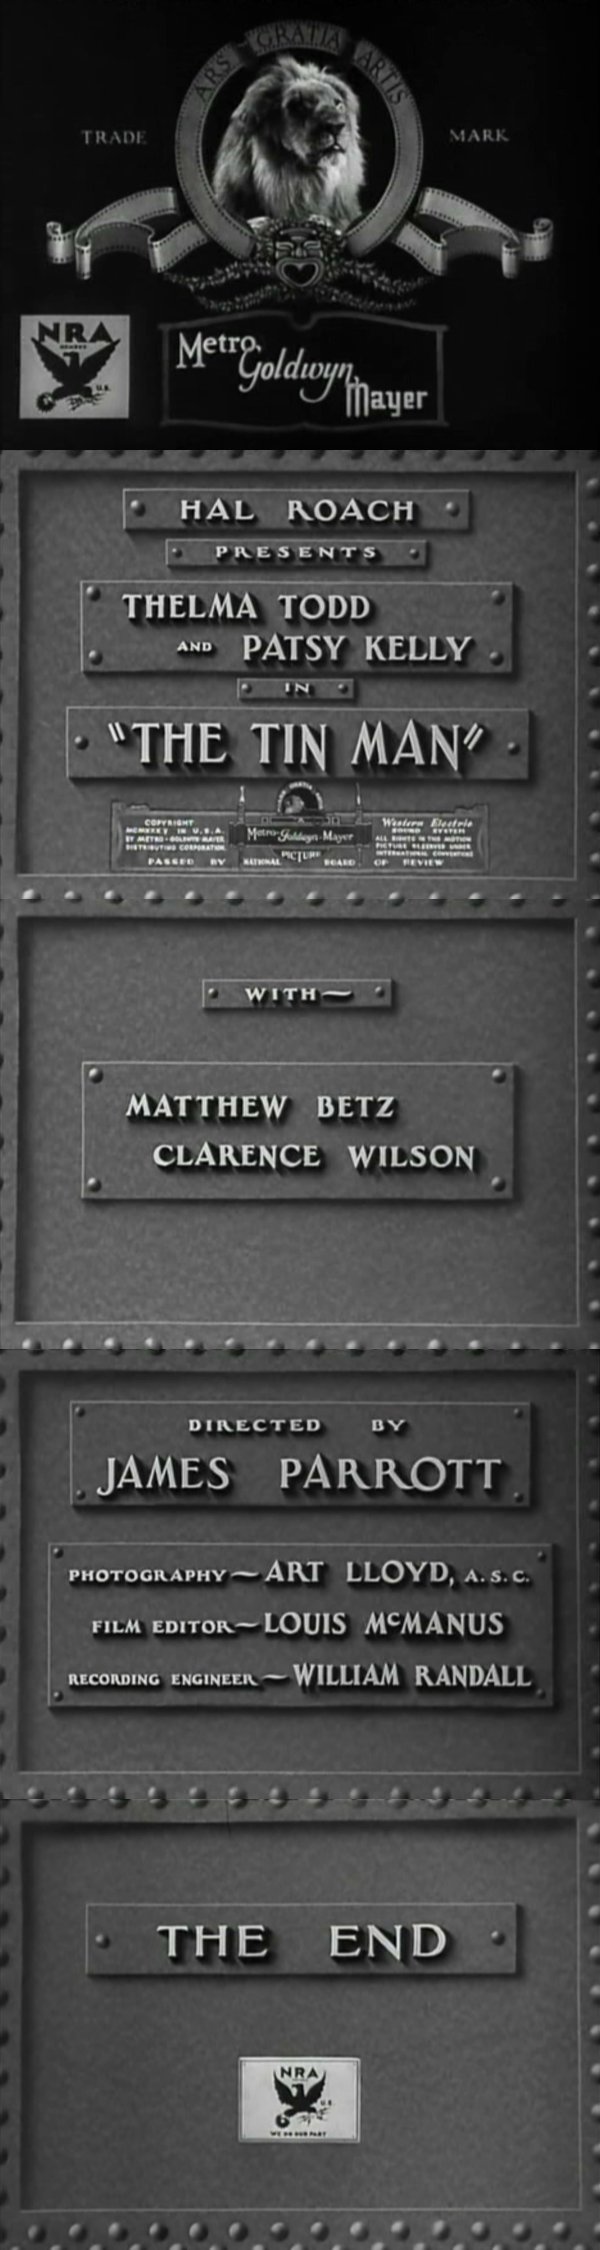
| CREDITS (click image to enlarge) |
 |
| POSTER (click any image to enlarge) 
|
| LOBBY CARD (click any image to enlarge) 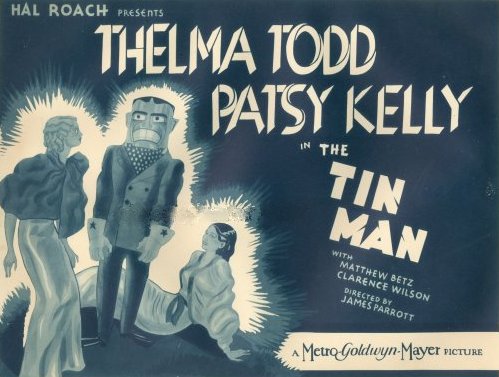
|
| Acknowledgements: Paul Mular (poster) Mick Roche (plot summary notes) Jesse Brisson (identification of Betty Danko) This page was last updated on: 19 September 2025 |